How to integrate with an external database?
OutSystems allows creating data models from scratch.
But in some cases, we need to connect to other pre-existing databases not hosted in the same environment.
To do this, we will create an extension using Integration Studio, define the integration and later consume that extension in Service Studio.

First, we need to define a database connection in Service Center.
If you don’t have one defined yet, make sure to create one using a user with the required access permissions for the specified database.
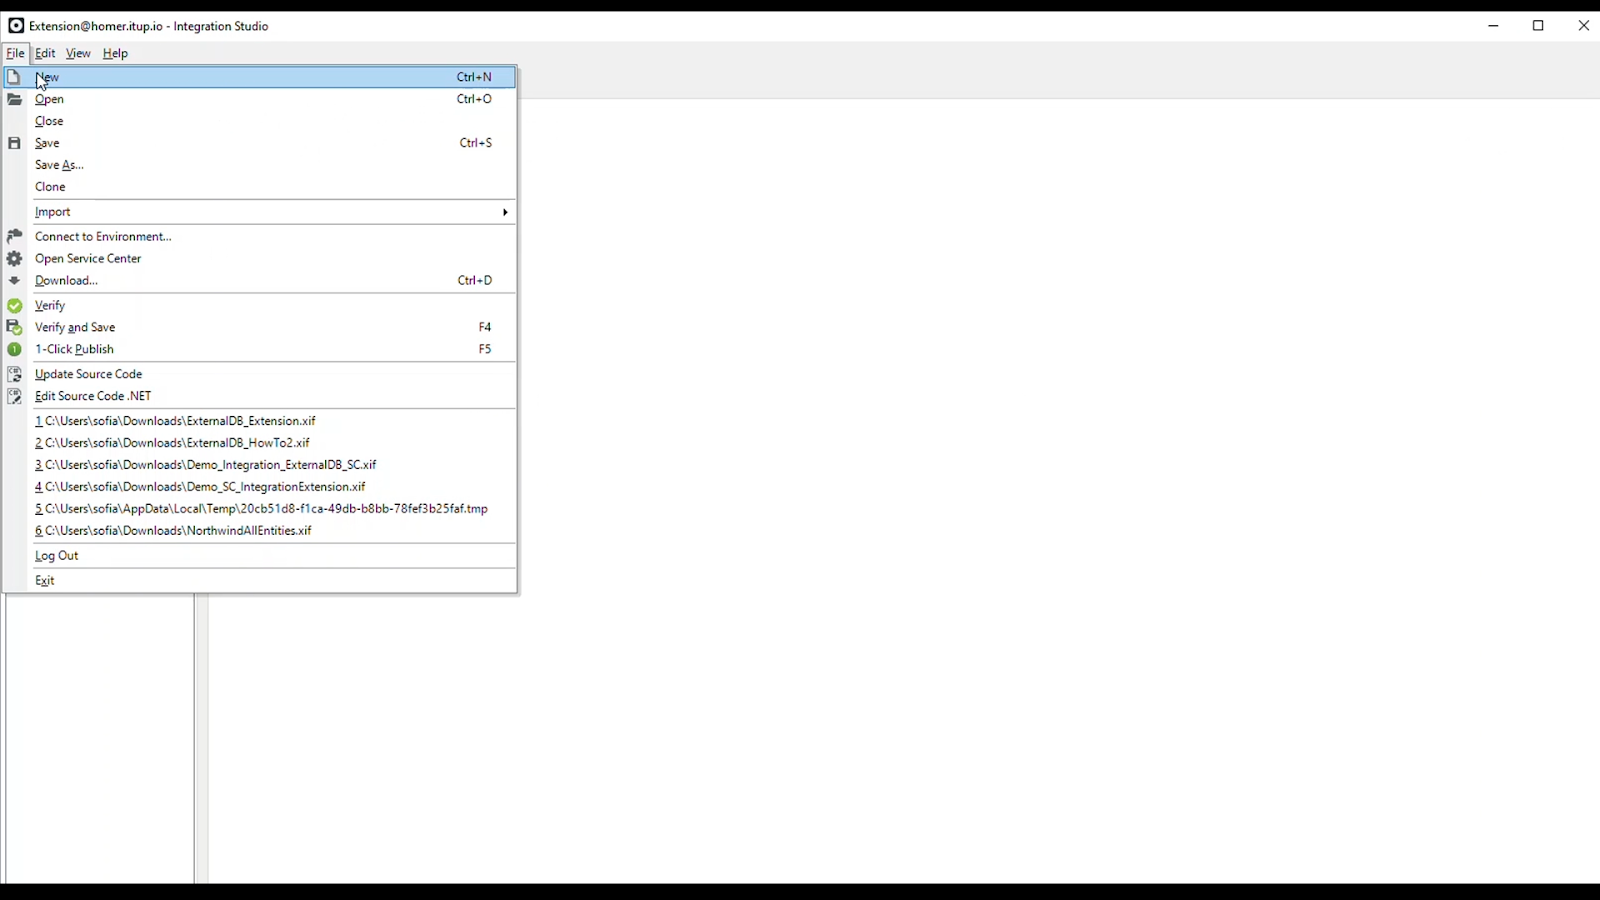
Let’s start: open the Integration Studio, create a new extension, and name it.
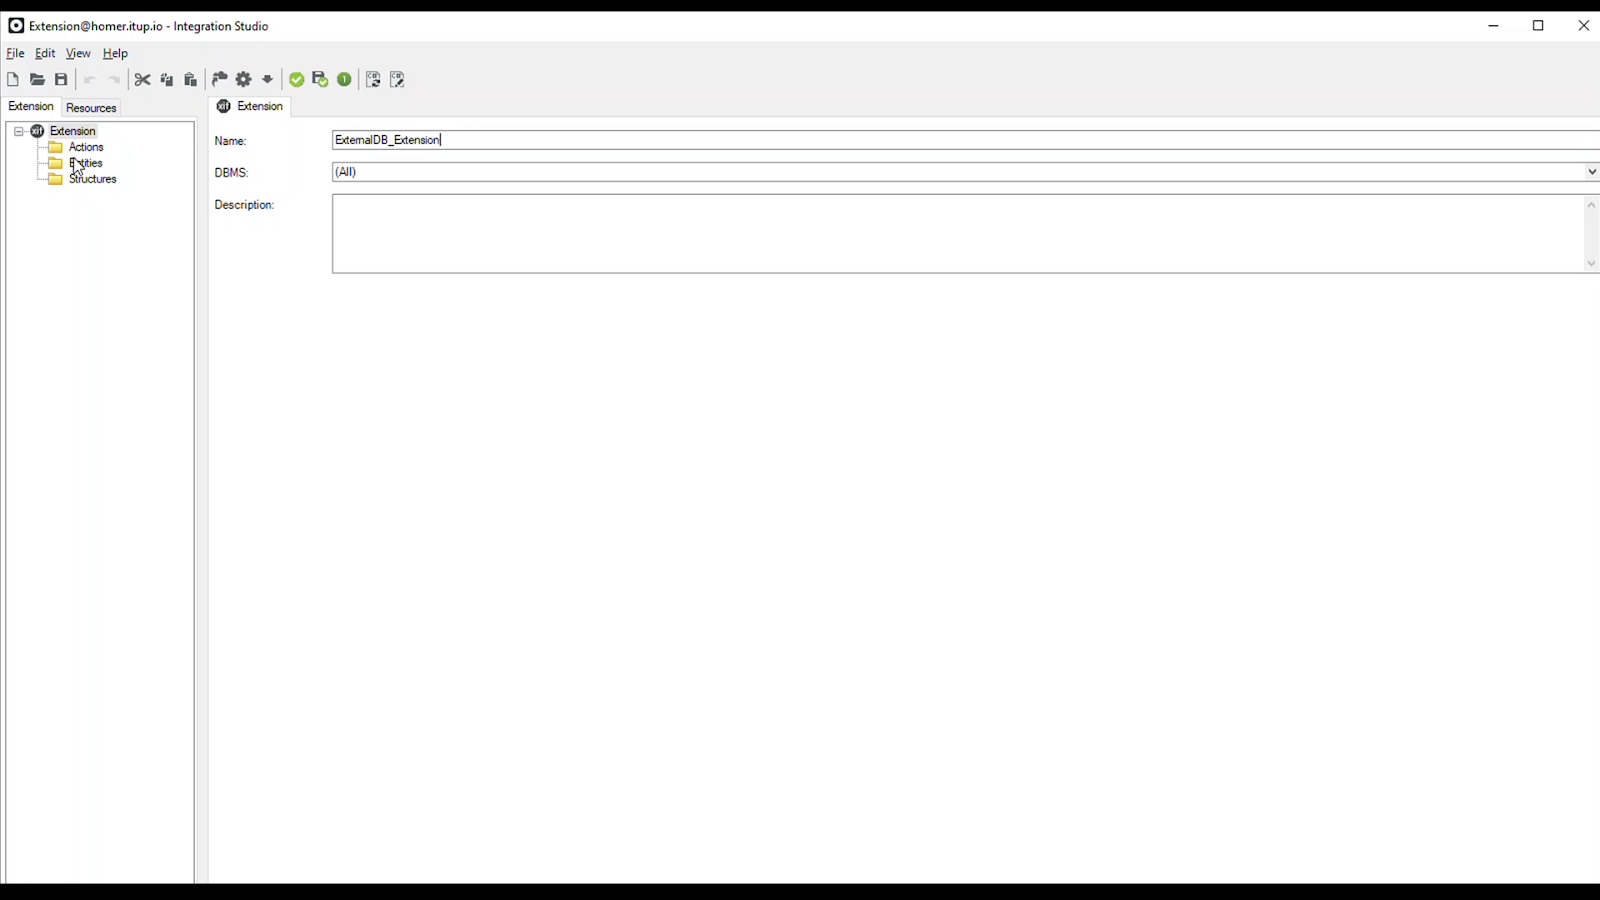
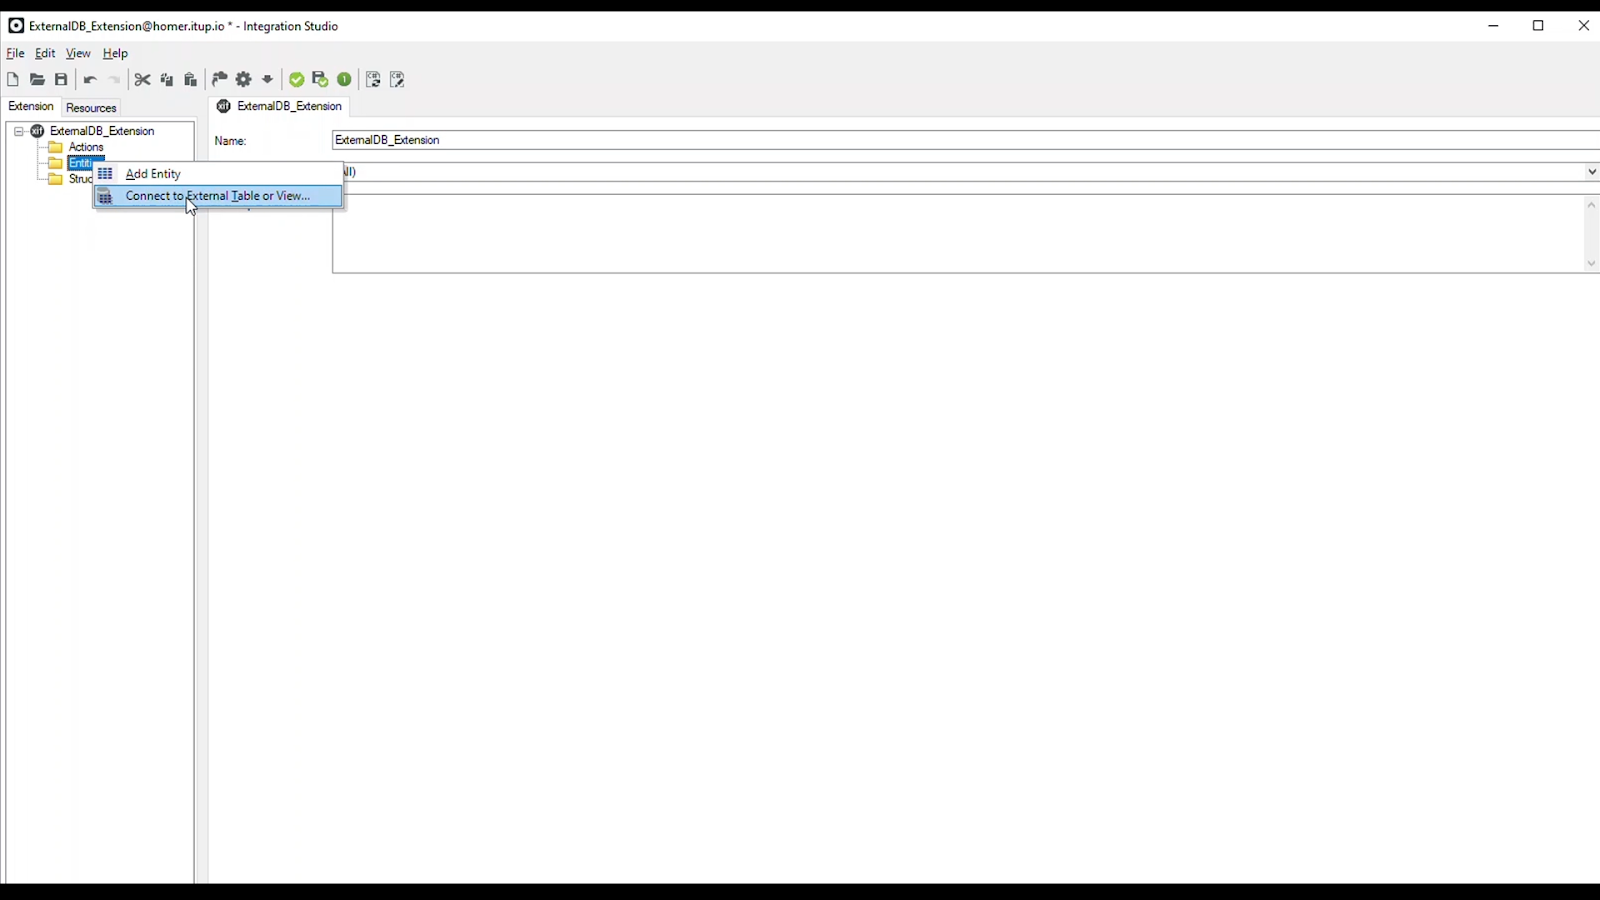
Right-click the Entities folder and choose Connect to external table or view.
This wizard is super easy to follow. Don’t believe me? Keep watching.
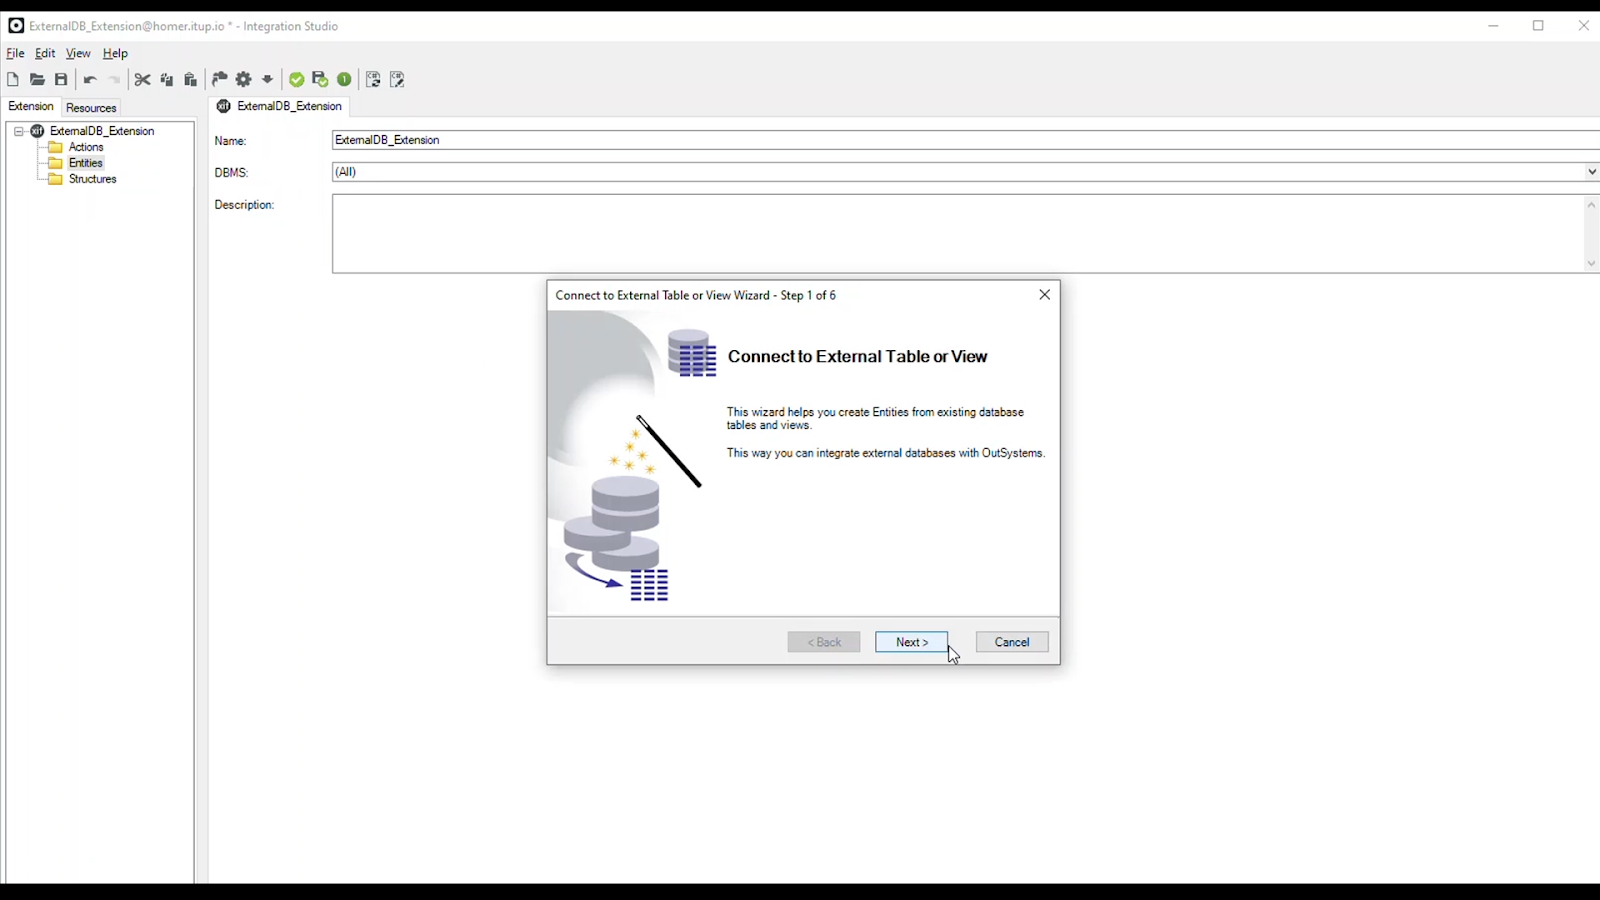
Click the Next button, choose one existing database connection, click next and choose one of the available databases inside this connection.
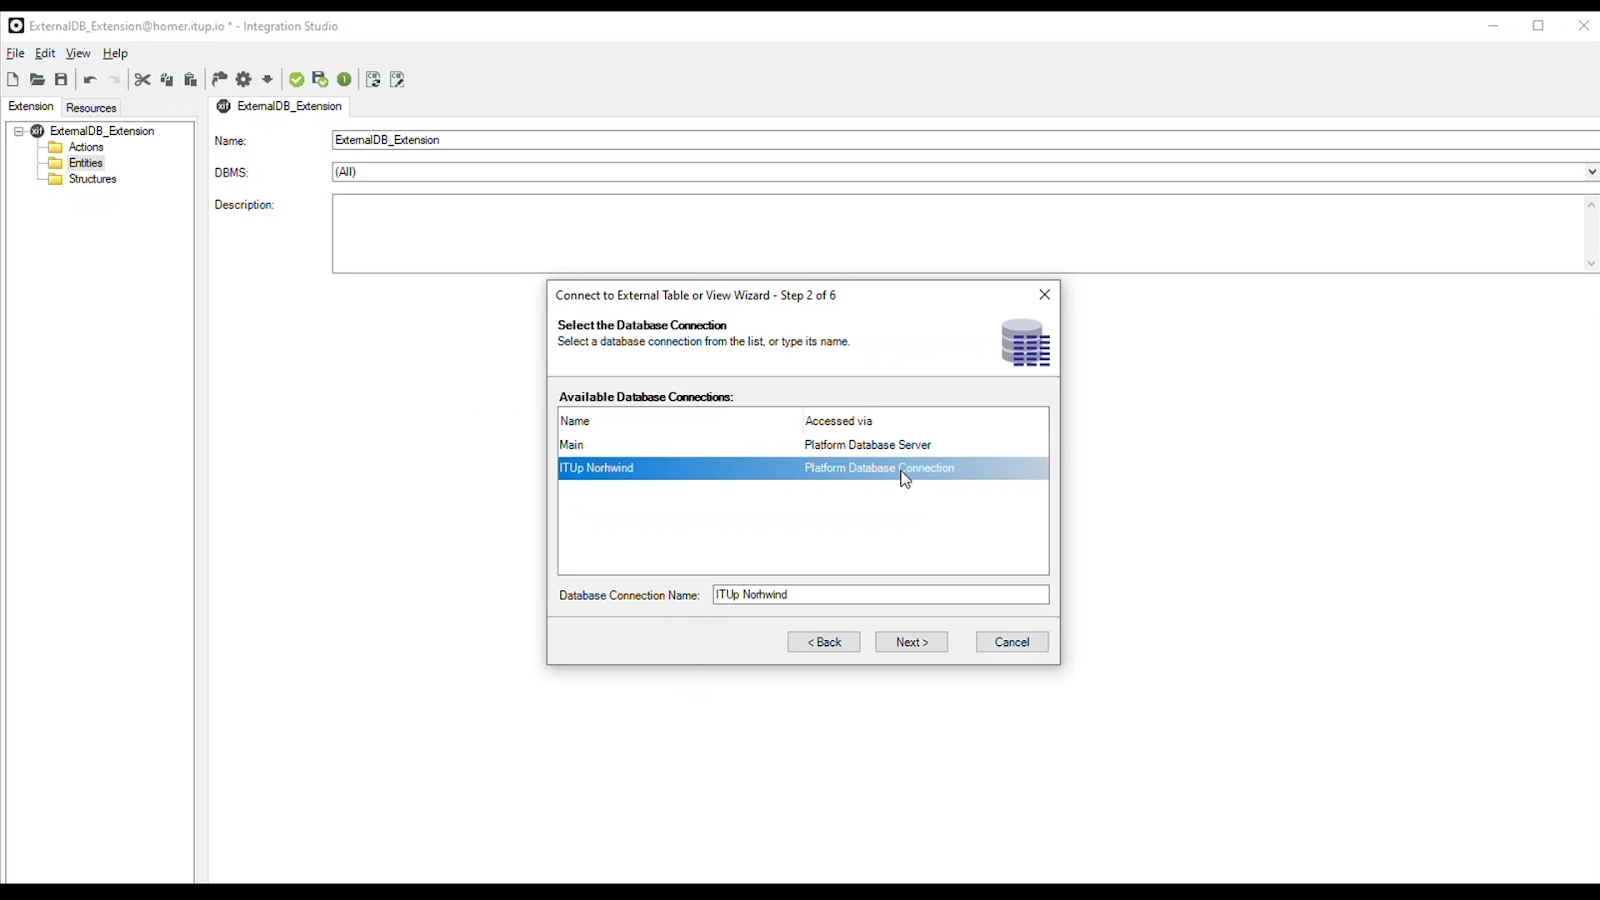
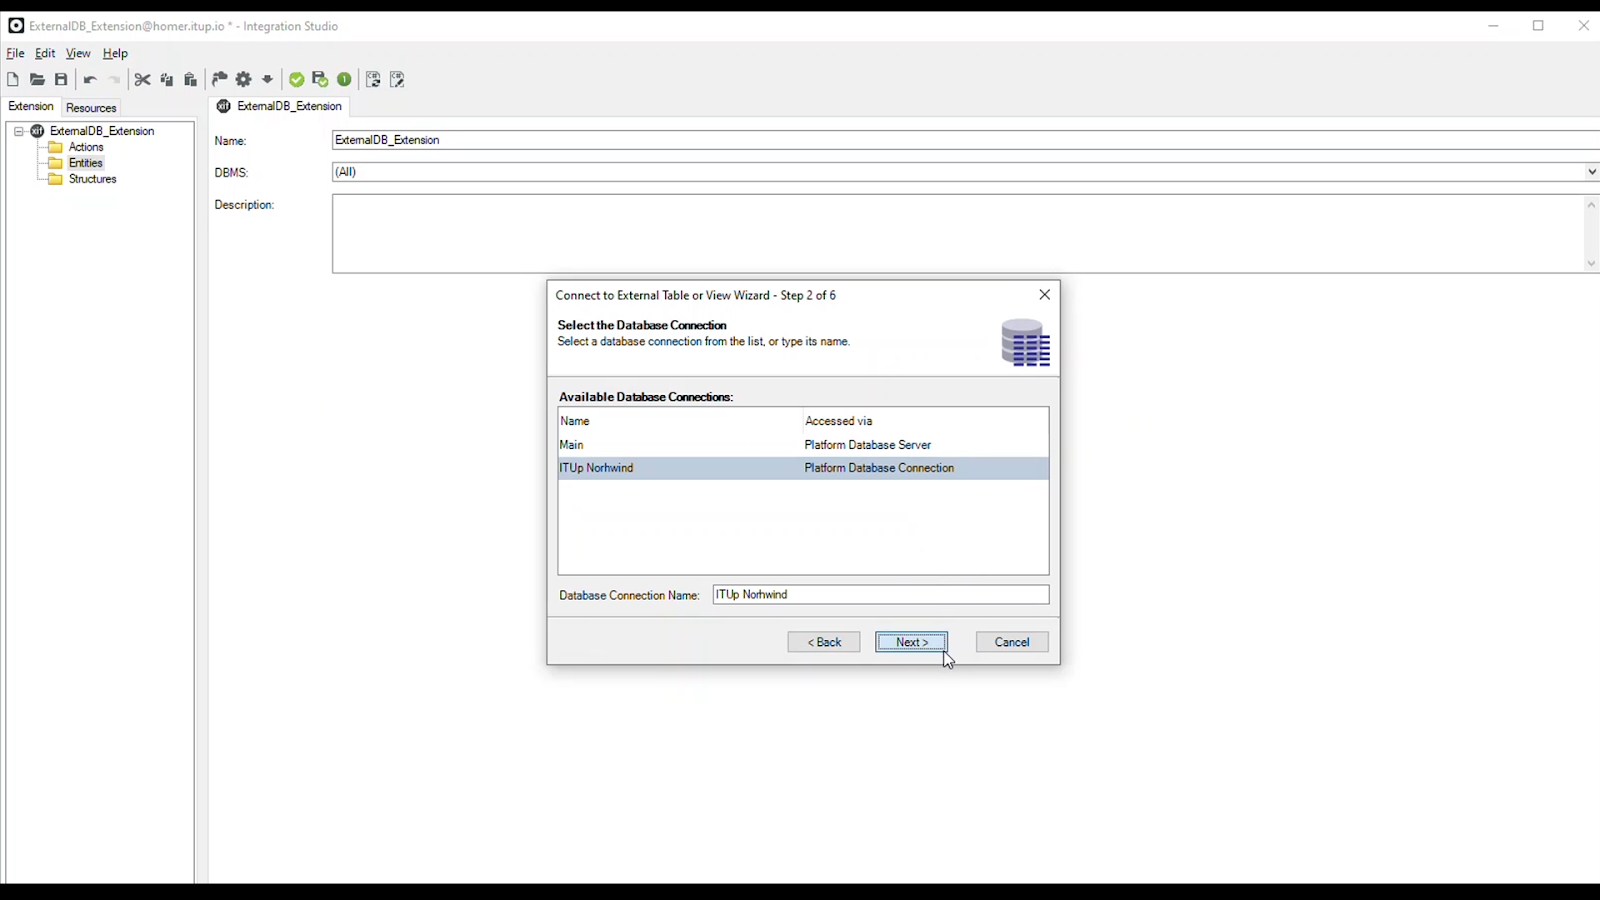

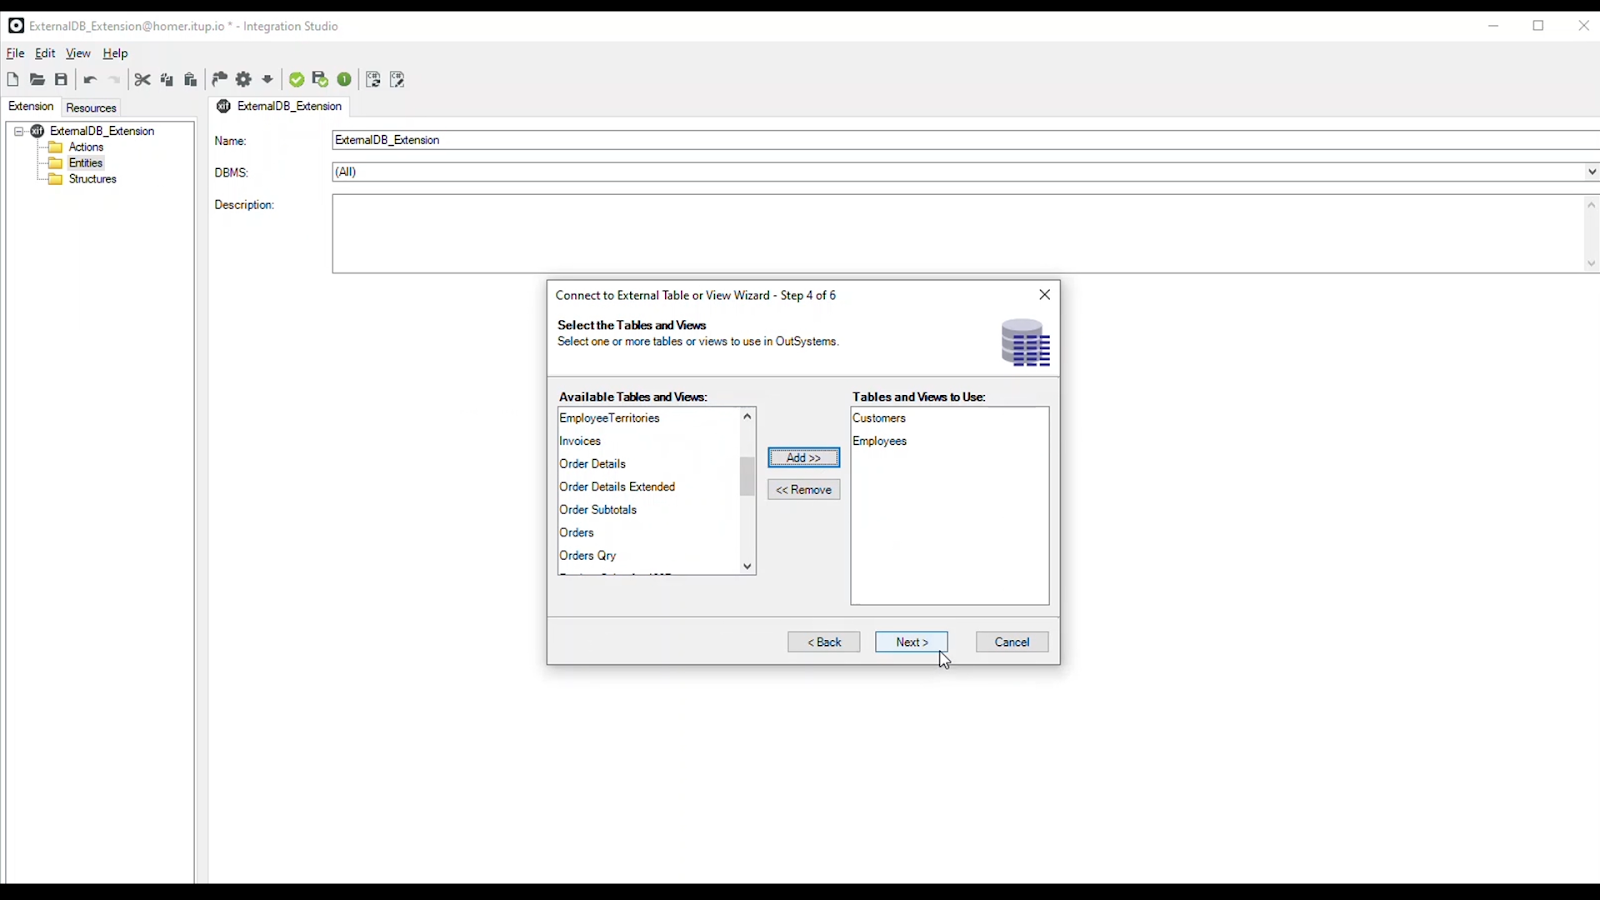
Now it’s necessary to decide which tables or views we want to access in our OutSystems application. Select the ones needed and click Add.

Click Next and provide a logical database name and click Next once again.
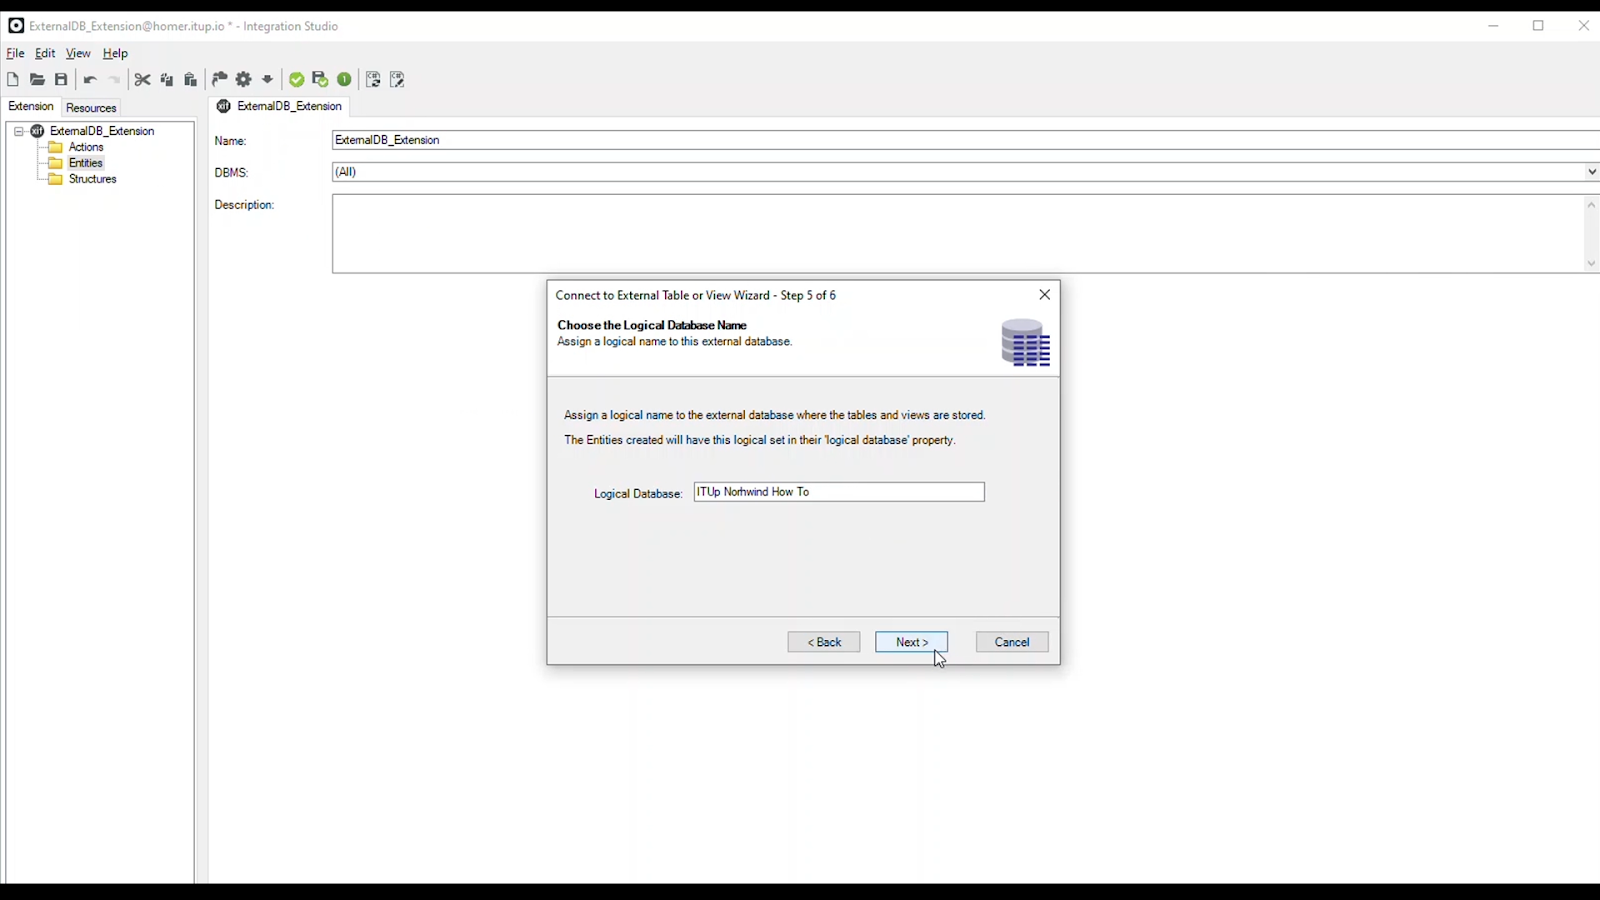
At this point, the platform is generating the entities that will represent the integrated tables or views. Finally, we finish and publish.
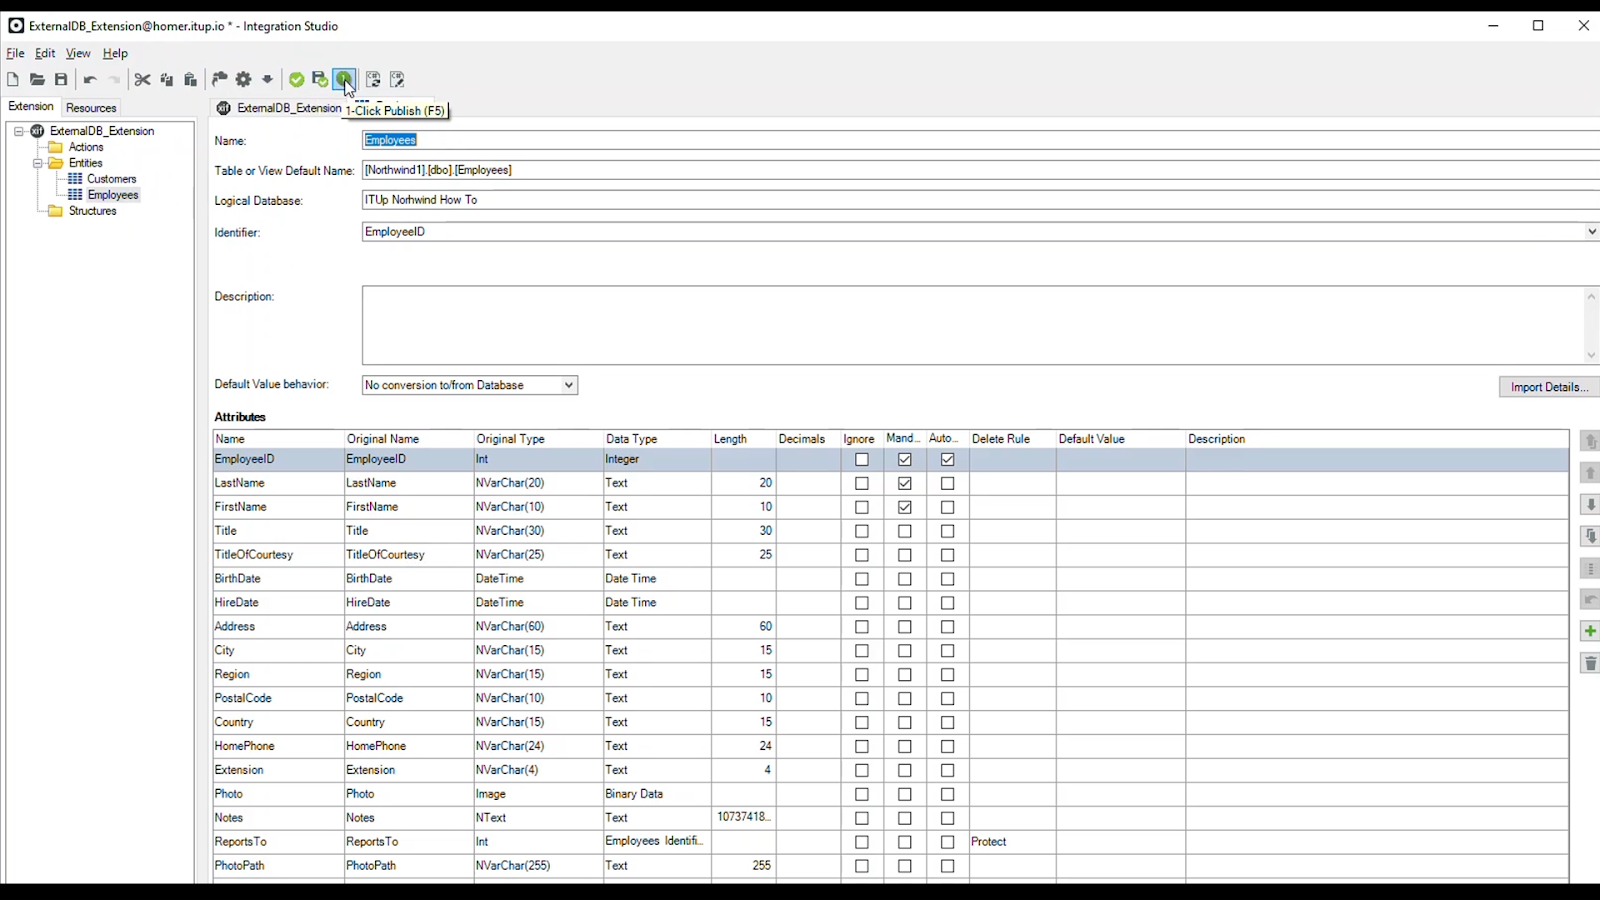
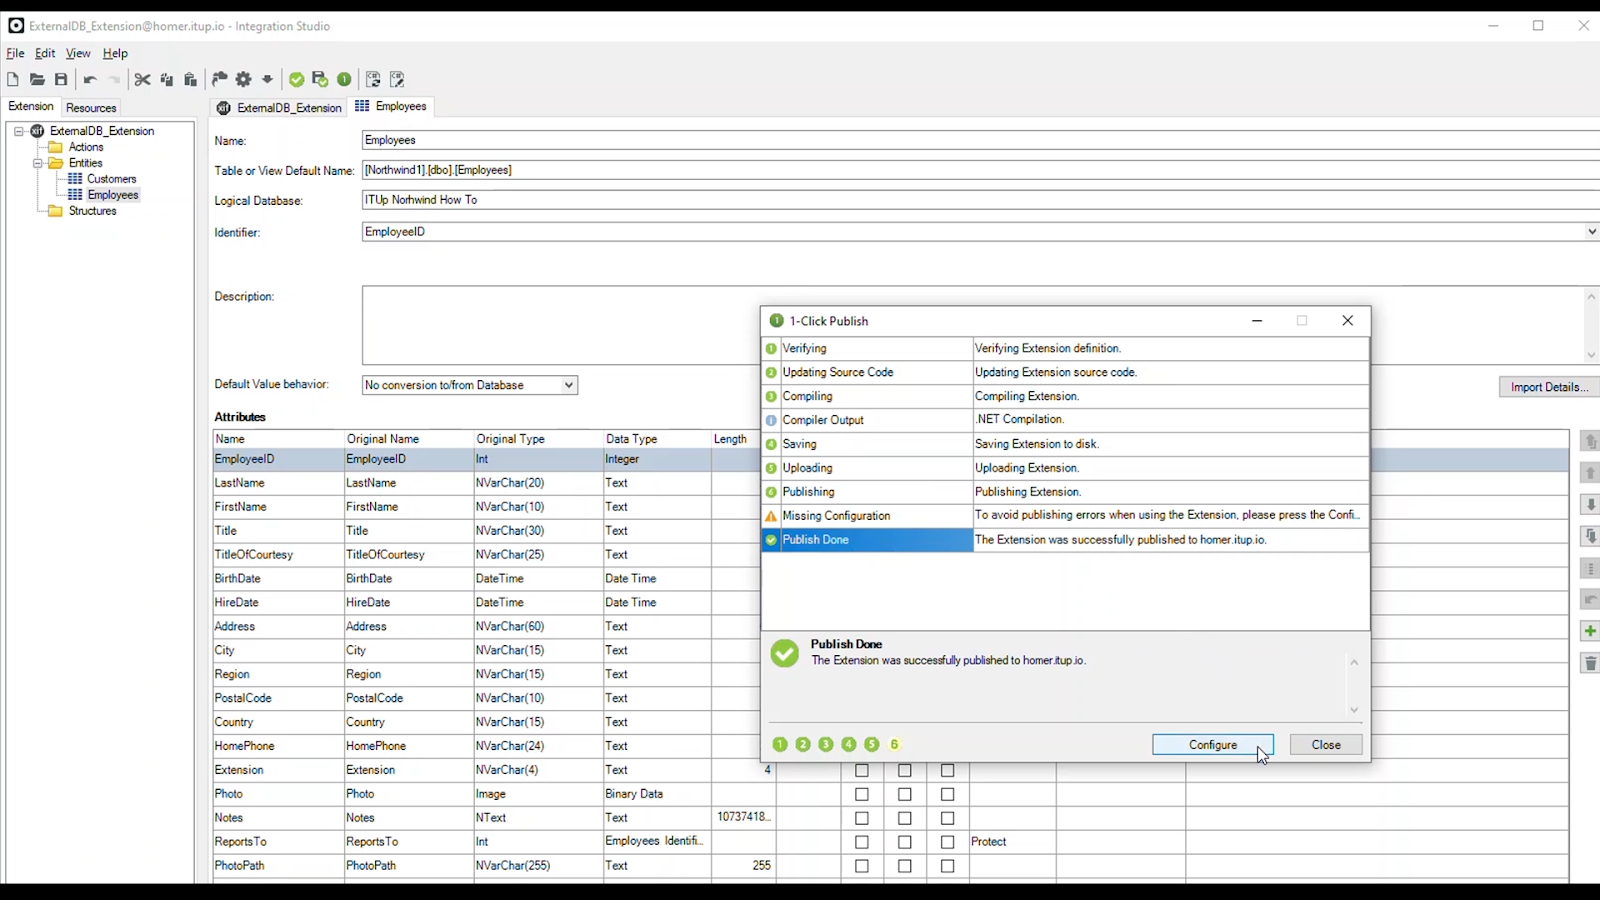
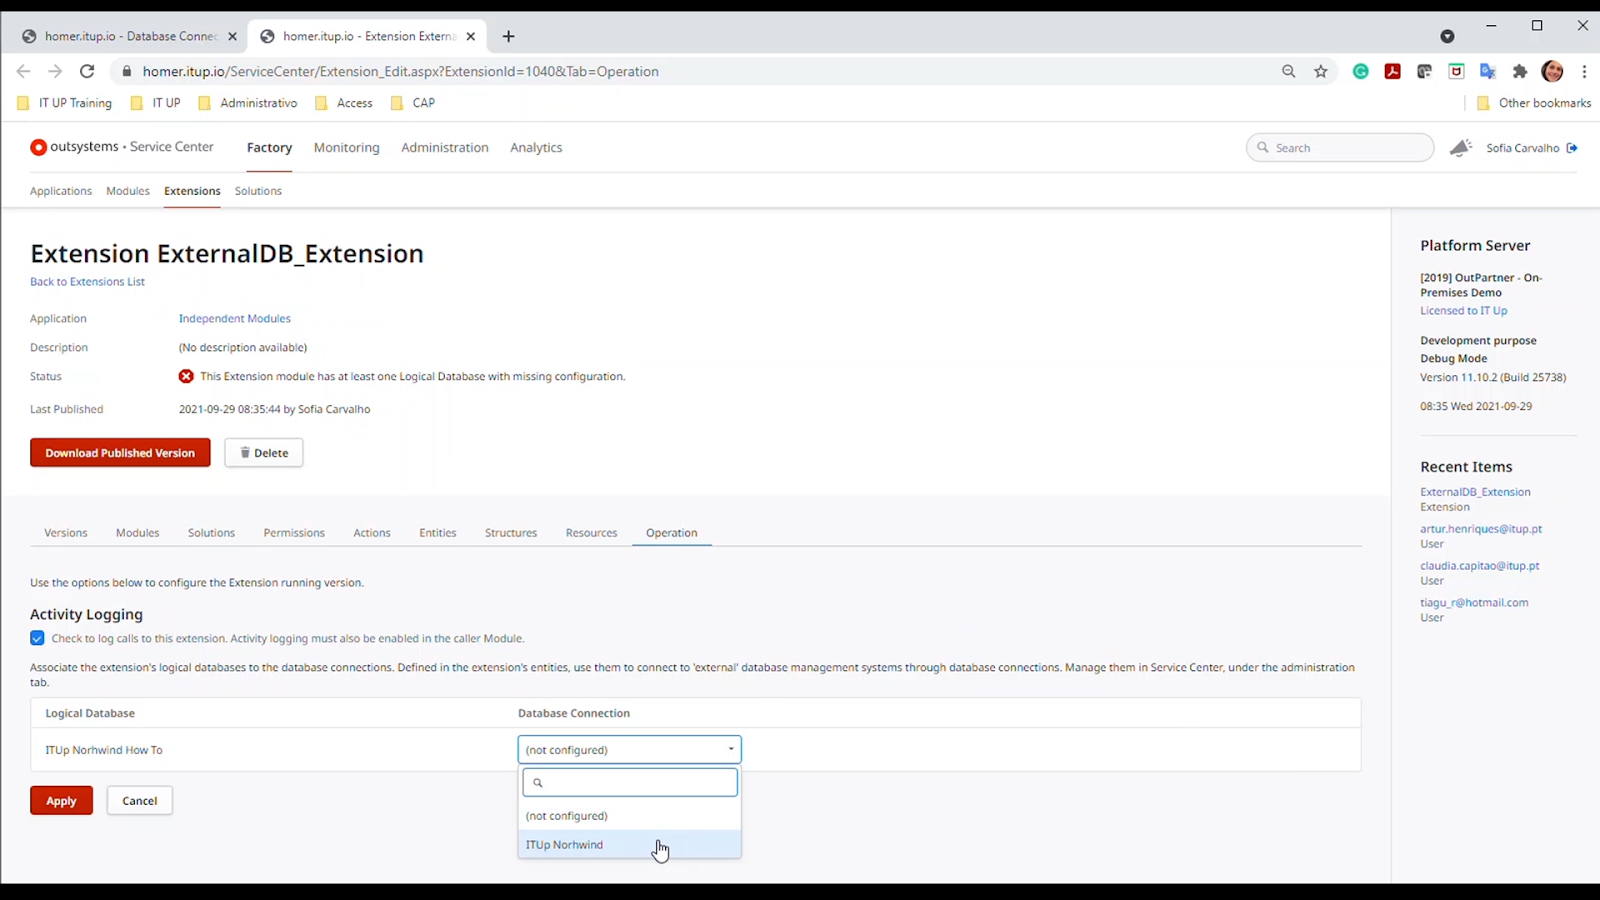
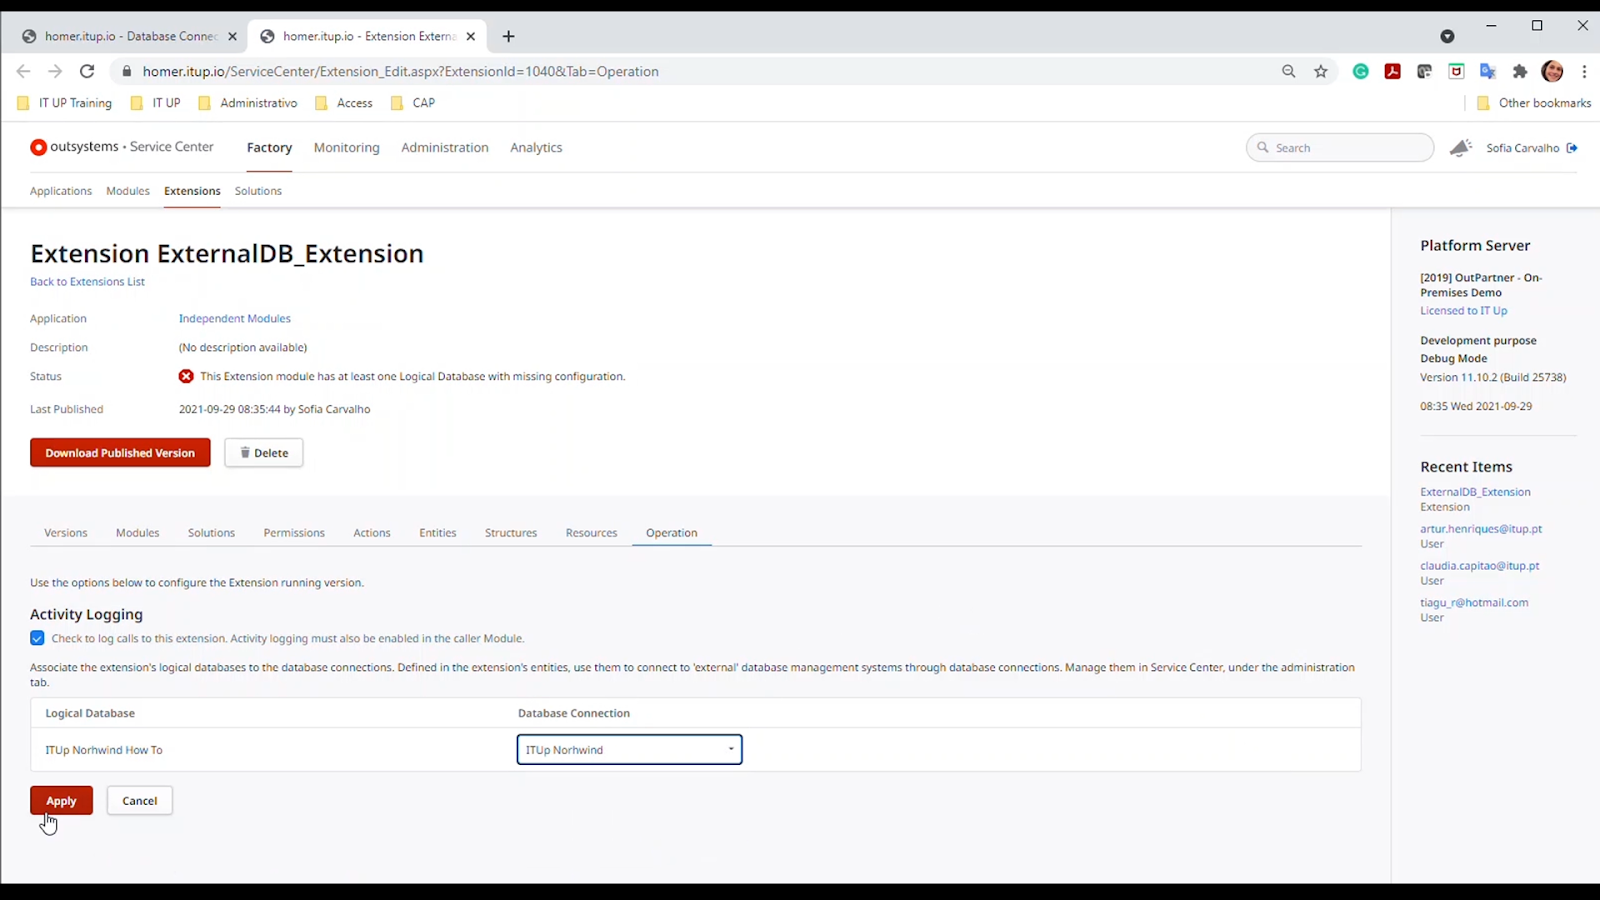
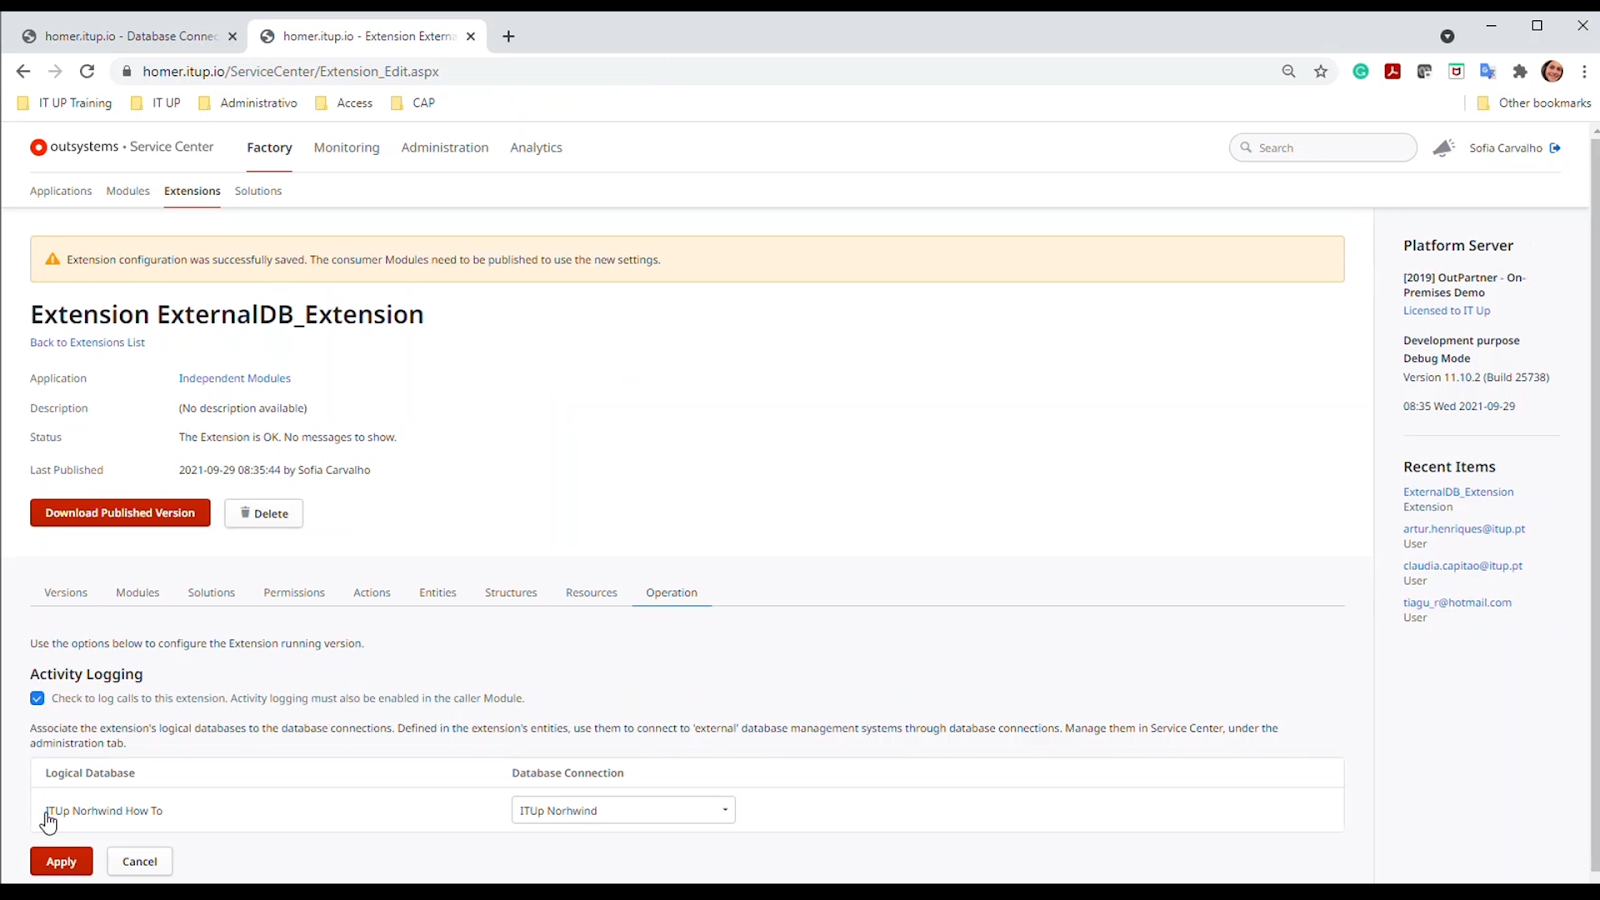
However, there is still one last configuration: Click the Configure button, the Service Center opens, and we just have to associate the newly created integration with the existing database connection.
We are ready to head over to the Service Studio and use the newly integrated tables in one of our application screens.
Open the manage dependencies window, search for the new extension, and select the external entities. Click apply.
In the data layer, it is possible to see the dependency on the new extension, referring to the external entities. Have fun scaffolding screens for those entities, create new records, edit, query, you name it!
We are all set.


