
When developers first start learning OutSystems, they are usually intrigued on how to take advantage of javascript’s versatility in their user interfaces!
Let’s build a straightforward screen that receives a name and shows an alert welcoming the user.
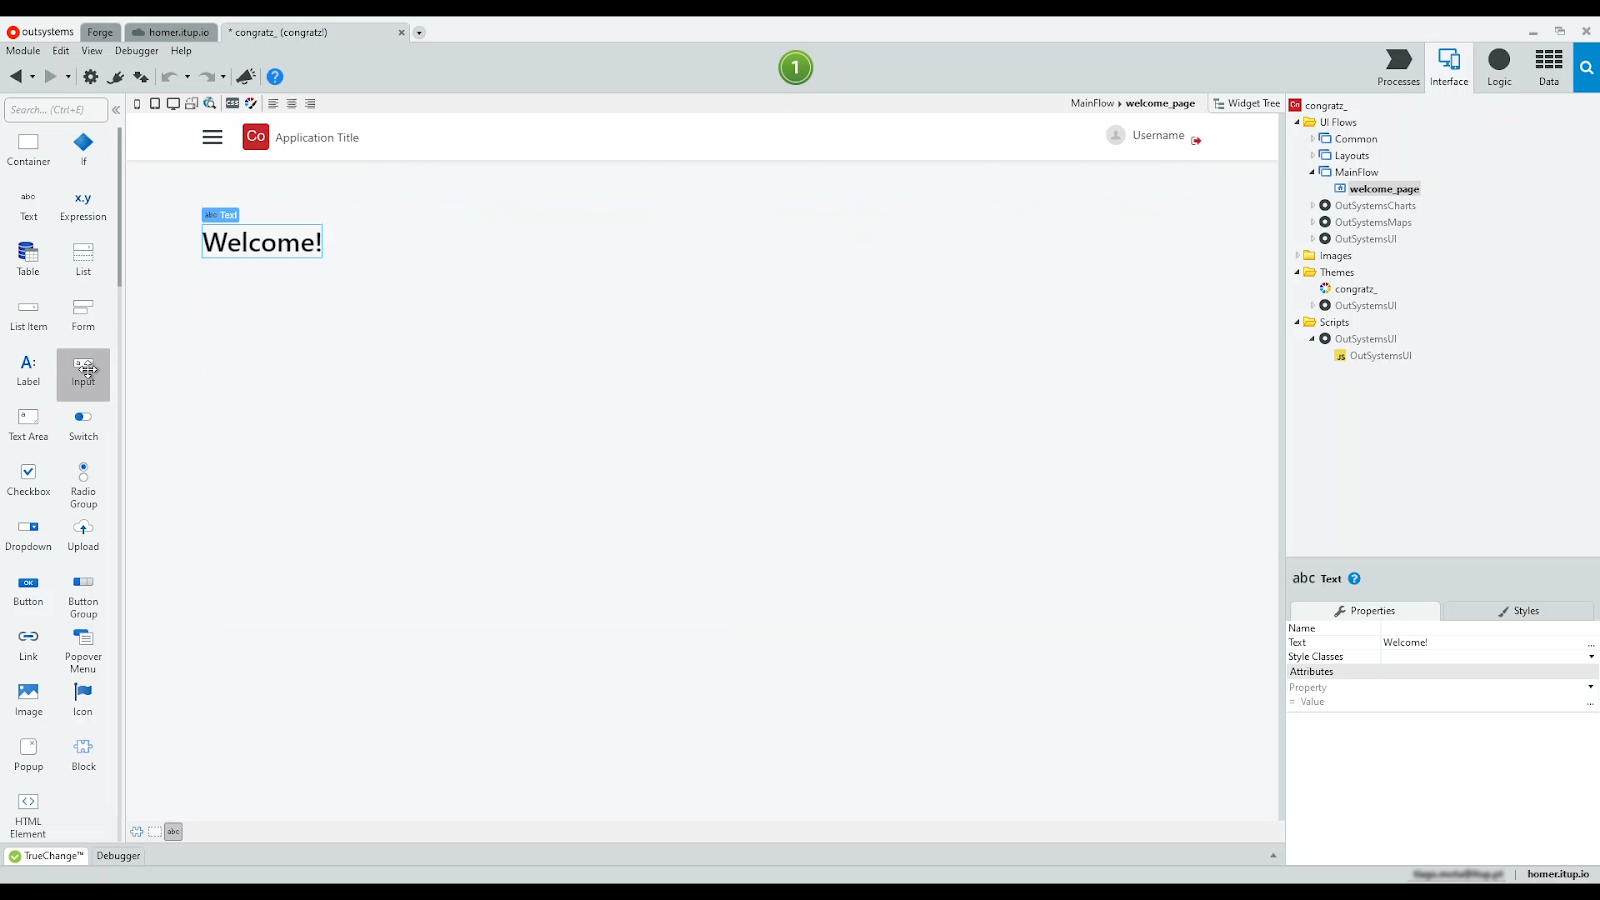
On OutSystems Service Center, drag and drop one input widget and a button to the screen.
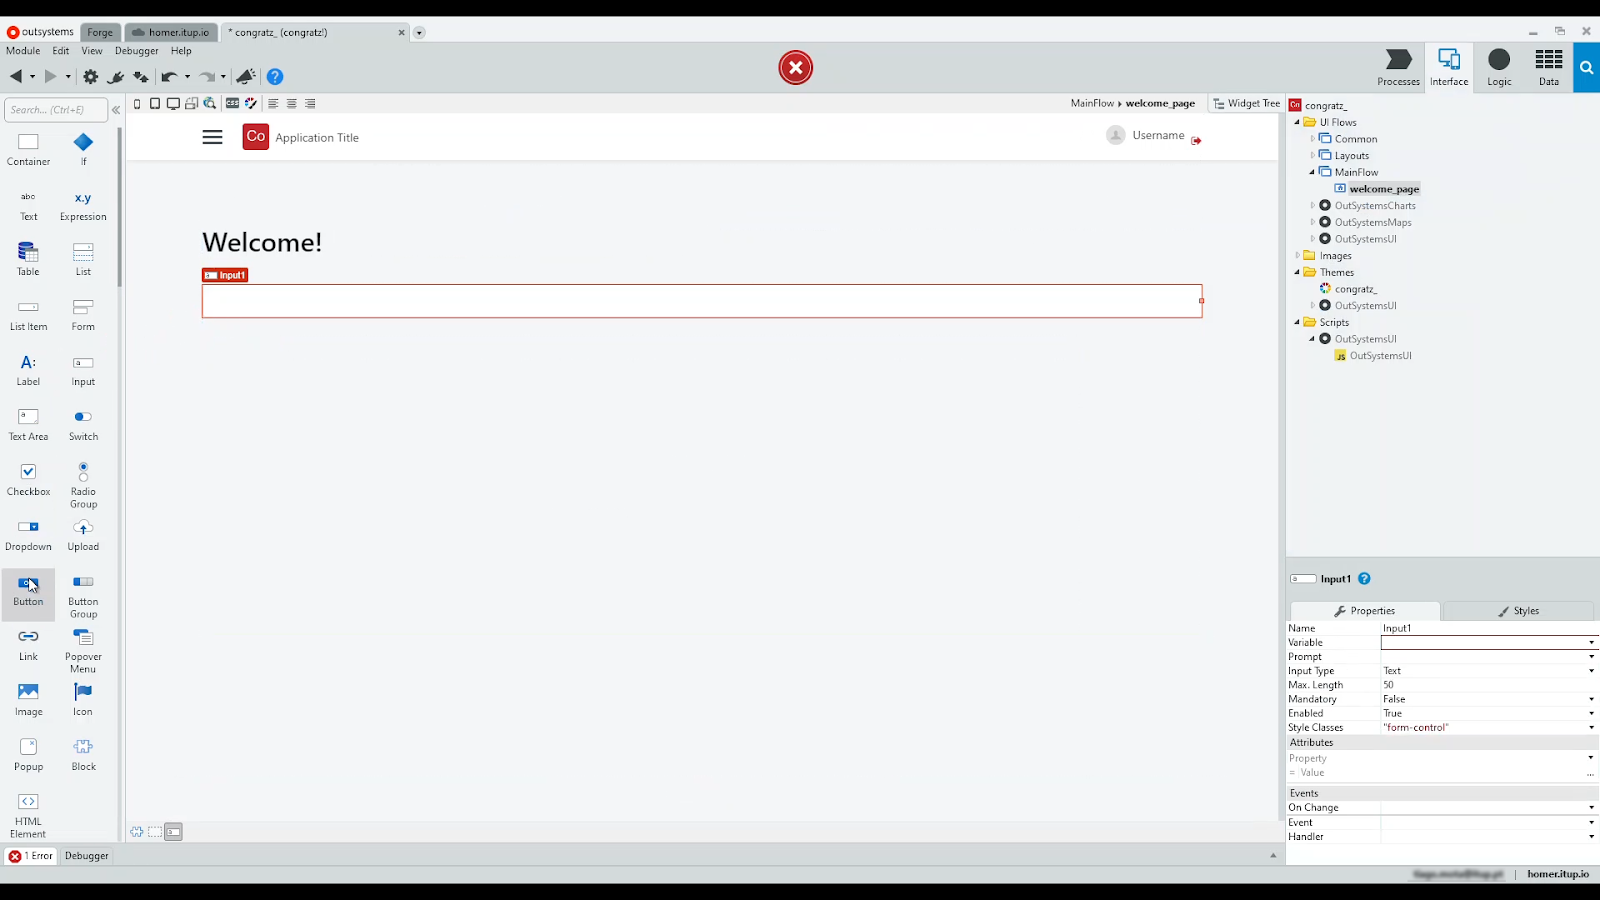
Our input needs a variable to store the typed text. Thus, assign the input to the variable.
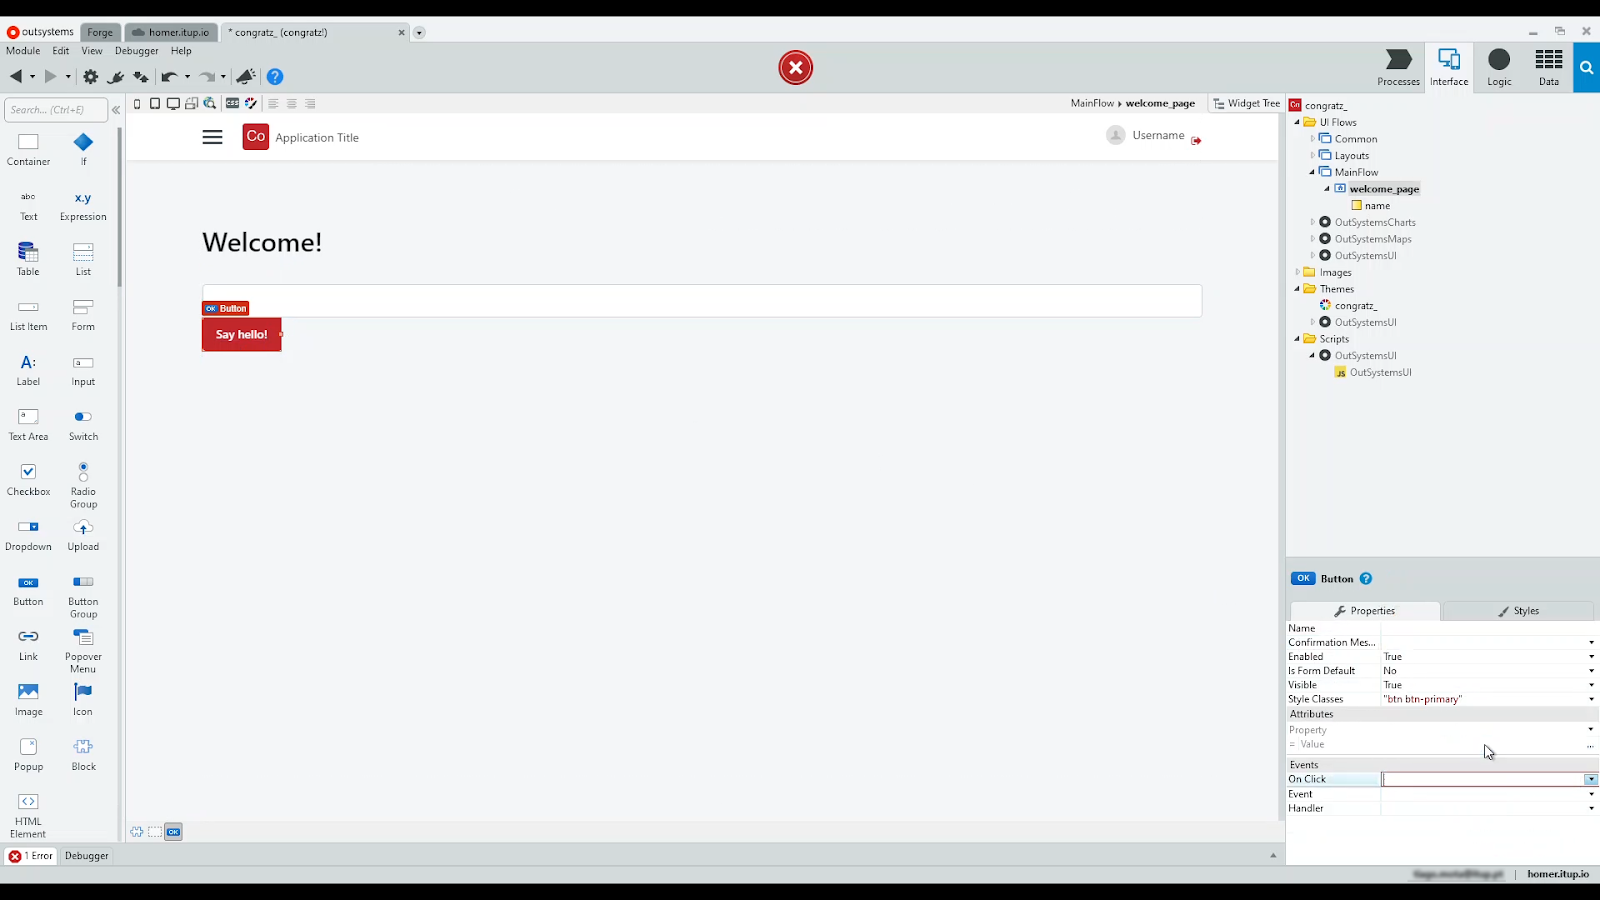
Next, the button needs an action triggered on the user’s click. Open it.
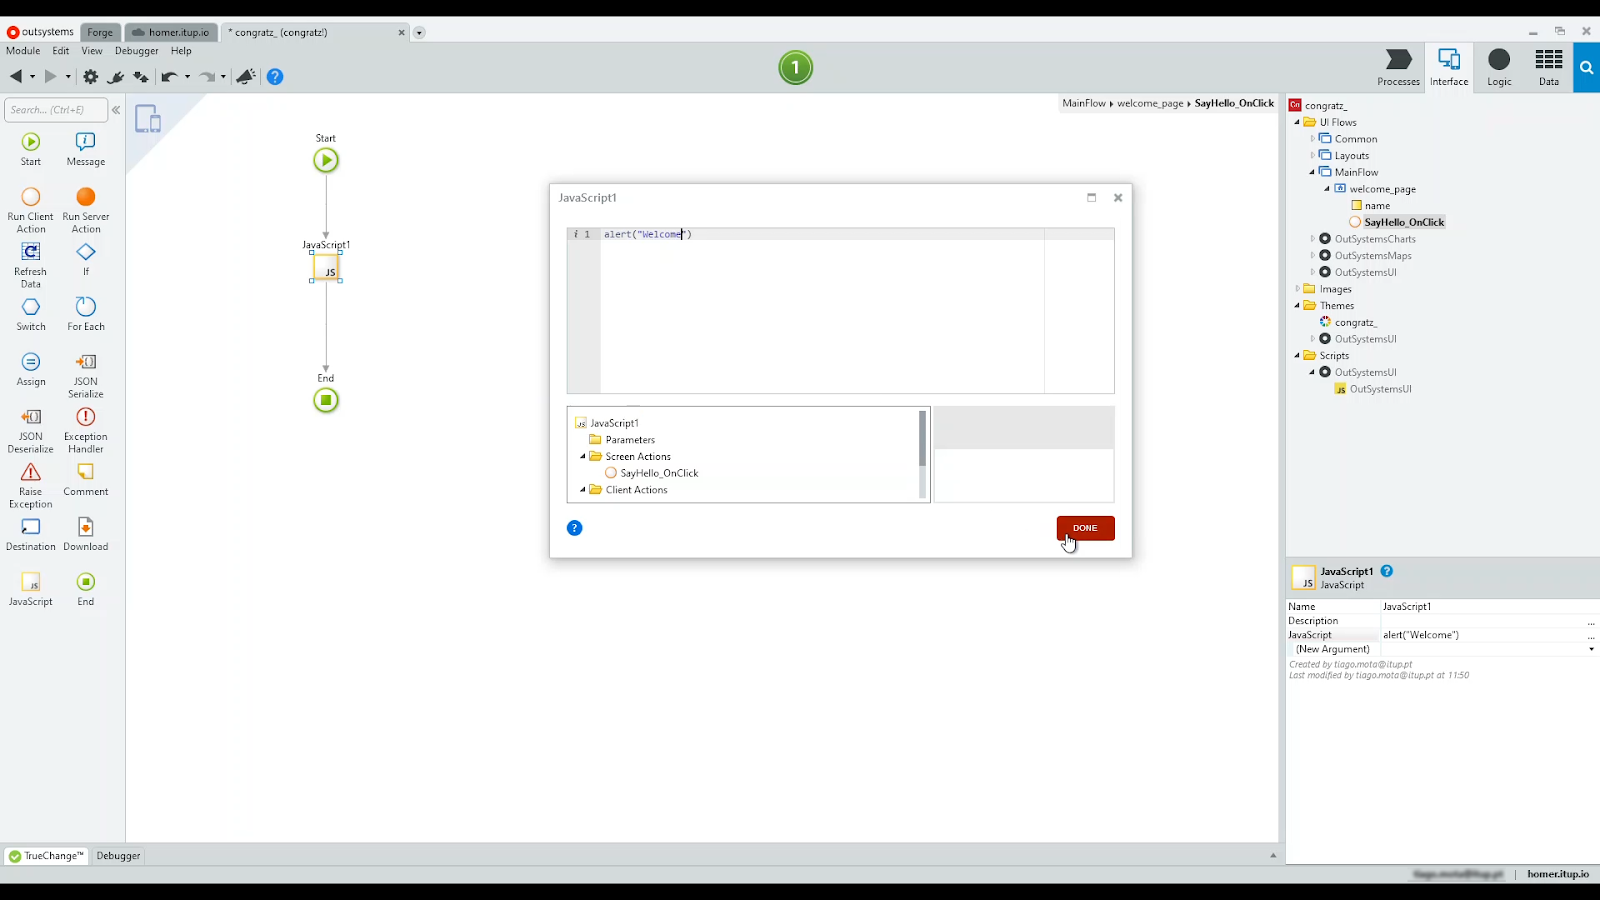
Amongst all the possible nodes, there’s also a JavaScript node! Drag that to the flow.

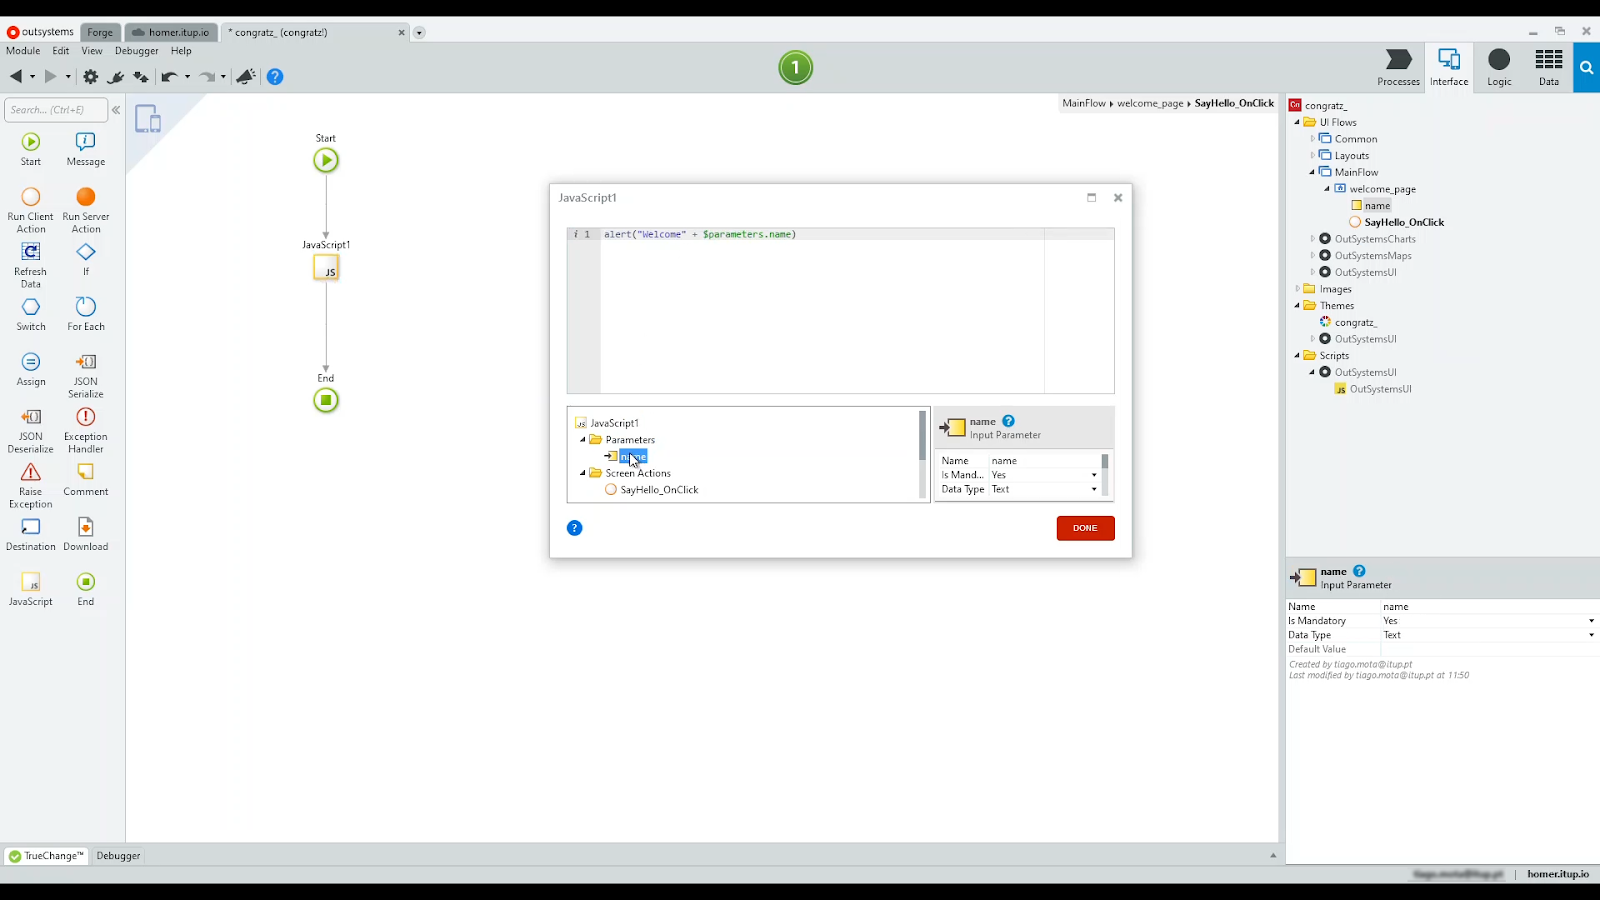
Double-click the node; write your script code in the placeholder.
For a simple demonstration, write a window alert.
Let’s now use the text input containing the end-user name.

On the JavaScript node’s property, add a new argument linked to the local variable.
Use that new argument on the code, concatenated to the text.
Open your app, write your name on the input field, press the button, and... we get a message.

All this, just using a simple JS node.


